-
AUSTRALIA, ENGLISH
- Contact
- Where to Buy
- Favourites
-
Looking for product documents?
Try our Document Finder
-
About Knauf
-
About Knauf
-
About Us
-
About Us
-
-
Board Of Directors
-
Board Of Directors
- Jennifer Scanlon, Chairman, USG Boral; Executive Vice President; President, International; President L&W Supply Corporation at USG
- James S. Metcalf, Chairman, President and Chief Executive Officer, USG Corporation
- Mike Kane, Chief Executive Officer and Managing Director, Boral Limited
- Al Borm, President & CEO, Boral Industries Inc
- Rosaline (Ros) Ng, Chief Financial Officer, Boral Limited
-
See All
-
-
Blog
-
Blog
- USG Boral presents ASONA at the Design Speaks Old School/New School Event
- USG Boral Partiwall® the acoustically sound and flexible partition wall system
- Architects’ perspective on USG Boral Ensemble™
- Achieving an acoustic ceiling with a monolithic look is now easy
- PERSPECTIVES: Retiring industry legend not planning to lay down his trowel
-
See All
-
- Careers
-
Contact Us
-
Contact Us
-
- Code Of Conduct
- Supplier Code of Conduct
-
-
Products
-
Products
-
Ceilings
-
Ceilings
- Acoustic Panels & Ceiling Tiles
ACOUSTIC PANELS & CEILING TILES
- Acoustic Suspension Systems
ACOUSTIC SUSPENSION SYSTEM
- Drywall Suspension Systems
DRYWALL SUSPENSION SYSTEM
- Integrated Systems
INTEGRATED SYSTEMS
- Specialty Ceilings
SPECIALTY CEILINGS
- Metal Ceilings
- Asona Acoustical Range
- ENSEMBLE™
-
-
Interior Linings
-
Interior Linings
- Standard Plasterboard
Standard Plasterboard
- SHEETROCK® Plasterboard
SHEETROCK® Plasterboard
- Technical Boards
TECHNICAL Plasterboard
- Multi-Application Boards
Multi-Application Boards
- testingMissingAltText
- testingmegamenualt2
-
-
Finishes
-
Finishes
- Jointing Compounds
Jointing Compounds
- Speciality Plasters
Specialty Plasters
- Adhesives
Adhesives
- Primers
Primers
- Sealants
Sealants
- Joint Tapes
Joint Tapes
-
-
Steel Framing
-
Steel Framing
- USG Boral Steel Stud & Track System (New Zealand)
USG Boral Steel Stud & Track System (New Zealand)
- Rondo® Metal Components
Rondo® Metal Components
-
-
Cornice
-
Cornice
- SHEETROCK® Cove
SHEETROCK® Cove
- Decorative Cornice
Decorative Cornice
-
-
Plastering DIY
-
Plastering DIY
- DIY Cornice Adhesive
DIY Cornice Adhesive
- DIY Patching Plaster
DIY Patching Plaster
- Total Joint Finish
Total Joint Finish
- Stud Adhesive
Stud Adhesive
- Tools & Accessories
Tools & Accessories
-
-
Insulation
-
Insulation
-
-
Industrial Plaster
-
Industrial Plaster
-
-
-
Solutions
-
Solutions
-
Plasterboard Systems
-
Plasterboard Systems
- Systems+
Systems+
- CinemaZone® System
CinemaZone®
- Fireclad® System
Fireclad® Fire-rated External Wall System
- Firewall® System
Firewall® System
- IntRwall® System
IntRwall® System
- Multiframe™ System
Multiframe™ System
- NeighbourZone™ System
NeighbourZone™ System
- OutRwall® System
OutRwall® System
- Partiwall® System
Partiwall® Separating Wall System
- Quiet Living™ System
Quiet Living™ System
-
-
Segment Solutions
-
Segment Solutions
- Health Care
Health Care
- Education
Education
- Bushfire Protection
Bushfire Protection
- Multi-Residential
Multi-Residential
-
-
Science
-
Science
- Acoustics
Acoustics
- Fire Performance
Fire Performance
- Seismic
Seismic
-
-
-
Inspiration
-
Inspiration
-
For Architects / Designers
-
For Architects / Designers
-
USG Boral for Architects / Designers
We believe we can change the way buildings are designed, built and occupied by delivering innovations that help you work smarter, do more and build better.
Plasterboard Installation Manual
See All
-
-
For Builders / Installers
-
For Builders / Installers
-
USG Boral for Builders / Installers
Proudly Supporting those who Build, every step of the way.
Plasterboard Installation Manual
See All
-
-
For Homeowners
-
For Homeowners
-
USG Boral for Homeowners
Our plastering products, tools & accessories are designed for the home renovator/builder making minor alterations or repairs to plasterboard walls & ceilings.
Plasterboard Installation Manual
See All
-
-
For Resellers / Distributors
-
For Resellers / Distributors
-
USG Boral for Resellers & Distributors
Our aim is to provide you solutions and make opportunities to scale your business efficiently.
Plasterboard Installation Manual
See All
-
-
-
Resources & Tools
-
Resources & Tools
- CAD Finder
- Lighting and Decoration Microsite
- Lighting & Decoration Guide
- Specialty Ceilings Design Studio
- Boral Design Lab
- Plasterboard Installation Manual
- Partiwall Estimator
-
BIMWIZARD
-
BIMWIZARD
- BIMWIZARD®
- NEW FEATURES
-
See All
-
- eSelector
-
TecASSIST
-
TecASSIST™ - USG Boral
-
-
Acoustic Ceilings e-Estimator
-
Acoustic Ceilings e-Estimator
-
-
-
What's New
-
What's New
-
News And Promotions
-
News & Promotions – USG Boral
- Holiday Trading Hours 2019/2020
- USG Boral a proud sponsor of Hoot Homes and Kylie & Jackie O’s Set You Up for Life home giveaway!
- USG Boral air-drying compounds help you avoid risk of early dry-out in hot windy dry conditions
- Labrador Trade Store Closing Down
- Competition: Your chance to win a DeWALT 5-Piece Combo Kit with WETSTOP™
-
See All
-
-
Press
-
USG Boral Press Coverage
- USG Boral Australia and New Zealand proposed to become 100% Boral-owned
- USG Boral wins Good Design Awards for design and innovation
- USG Boral advocates for healthier work sites in building and construction
- USG Boral continues to support the Royal Children's Hospital Good Friday Appeal
- BORAL AND USG BORAL SUPPORT INDIGENOUS YOUTH PROGRAM
-
See All
-
-
AUSTRALIA, ENGLISH
- Contact
- Where to Buy
- Favourites
- My Downloads
-
User Profile
User Profile
- Manage Profile
- Logout
-
Looking for product documents?
Try our Document Finder
xui3RRd85PW+7EkqtHyQYghttp://myaccount-stg.knaufapac.com -
- Past Project Inspiration – USG Boral
- Renovating Advice for Homeowners From the Experts At USG Boral
- How To Install Plasterboard – DIY Installation Video Series
- Plasterboard Jointing & Finishing | Video 4
- Past Project Inspiration
- Home Owners
- DIY Plasterboard Projects
- Video 4: Jointing and Finishing
Video 4: JOINTING AND FINISHING PLASTERBOARD
WHAT YOU WILL NEED
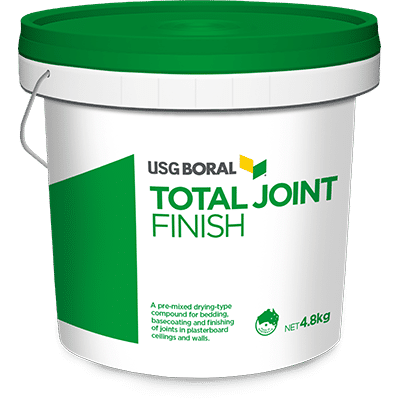

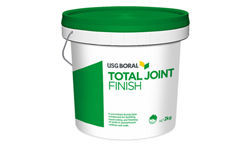
USG Boral Total Joint Finish
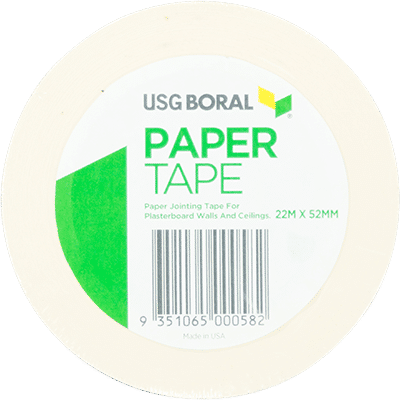

USG Boral Paper Jointing Tape
TOOLS
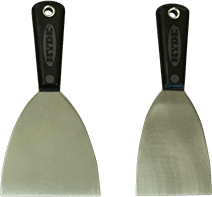
150mm & 100mm broad knives
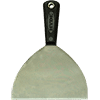
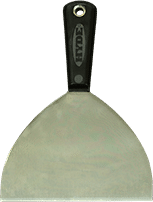
200mm broad knife or plasterer's trowel, or:
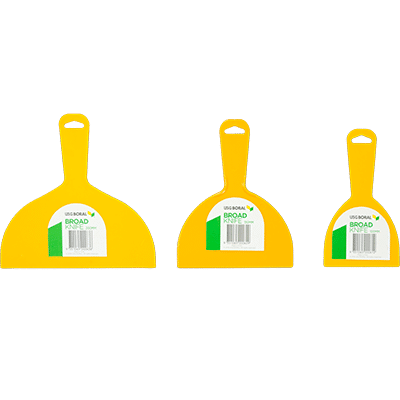

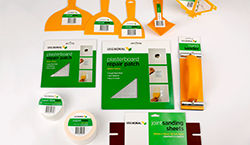
USG Boral broad knives
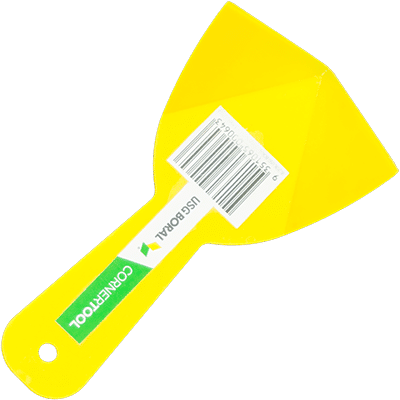

Corner tool
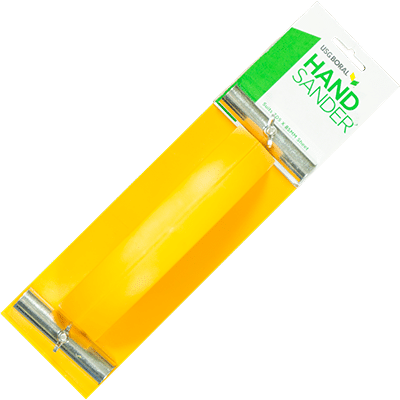

150-grit sanding sheet & hand sander
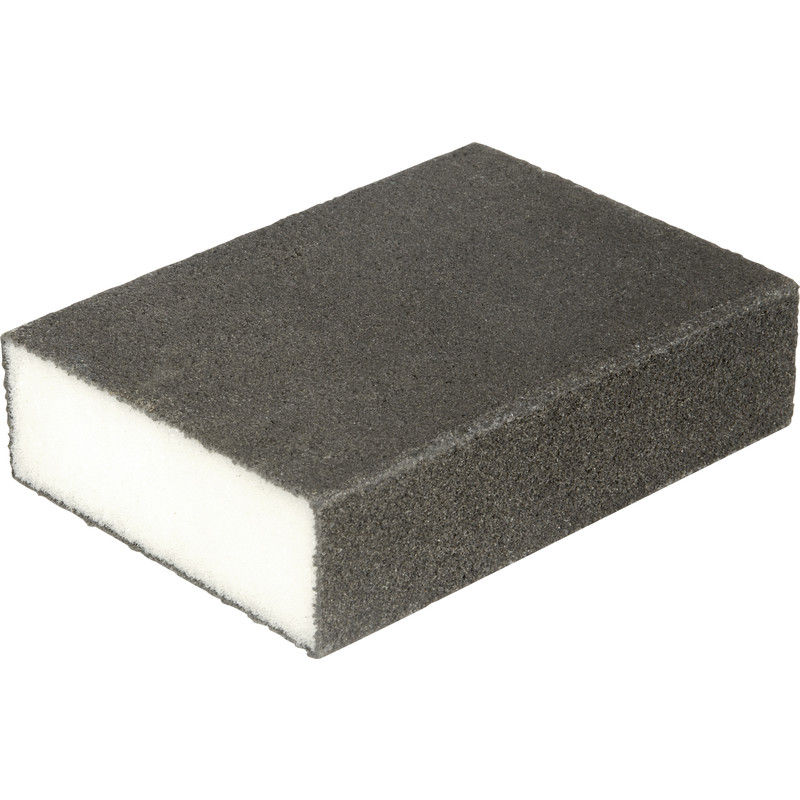

Soft sanding block for small patches
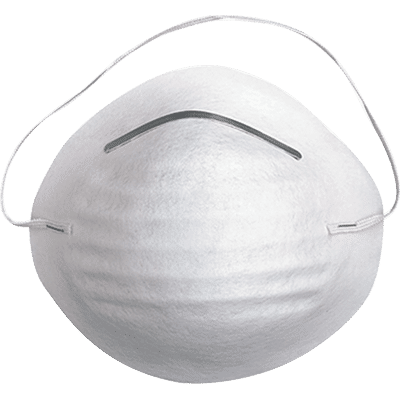

Dust mask
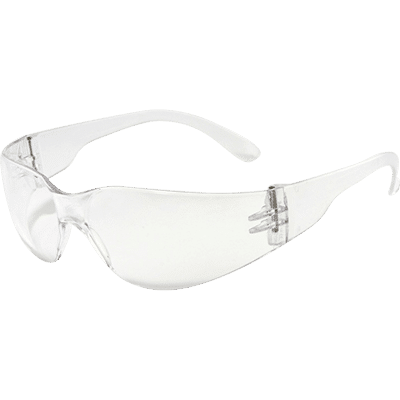

Eye protection
JOINTING PLASTERBOARD
- 1.Ensure that any adhesive holding newly installed plasterboard is completely dry, then remove any temporary fixing blocks (walls) and screws (backblocked ceilings).
- 2.Measure the lengths of paper tape you'll need for each joint.
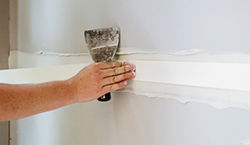
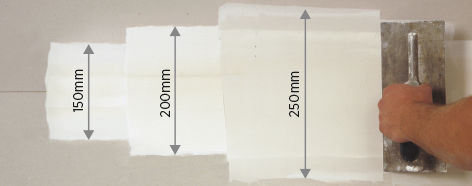
- 3.Fill the joint recess formed by the recessed edges of the plasterboard using Total Joint Finish and a 150mm broad knife.

- 4.Place the paper tape along the centre of the joint and press it into the compound using the broad knife.
- 5.With the broad knife held at 45 degrees, draw it along the joint with enough pressure to remove excess joint finish and air bubbles. Leave enough compound under the tape to achieve a good bond.
- 6.Immediately apply a skim coat of Total Joint Finish over the top. This can reduce the possibility of the tape edge curling and wrinkling.
- 7.Allow the jointing compound to dry fully. Drying times are approximately 24 hours in normal conditions or 48 hours in cool conditions.
- 8.Apply a second, thin coat of Total Joint Finish approx. 200mm wide with the 200mm broad knife or plasterer's trowel. Feather (thin out) the edges of the coat to create a smooth transition between the joint edges and the plasterboard sheets.
- 9.When the second coat has completely dried, scrape or sand back any build-up of compound along the joint, for a smooth and level surface.
- 10.Then add a third and final coat of Total Joint Finish approx. 250mm wide, using either a 200mm broad knife or a plasterer's trowel, remembering to feather out the edges.
- 11.When thoroughly dry, sand the joint lightly to a smooth finish with a hand sander held diagonally across the joint. Use 150-grit sandpaper and take care to sand ONLY the jointed areas and not scuff the surrounding plasterboard.

HELPFUL TIP!
Try and avoid butt joints, which is where two sheets of plasterboard join end to end. But if they're unavoidable, refer to the USG Boral Plasterboard Installation Manual for the correct procedure for finishing them.
FILLING NAIL AND SCREW-HOLES
Apply three coats of Total Joint Finish to nail or screw heads, at the same time as you finish the joints. Overlap each coat by approximately 25mm, and when each is thoroughly dry, sand lightly before applying the next coat. (A soft sanding block is ideal.)
SQUARE-SET WALL/CEILING FINISH & INTERNAL CORNERS
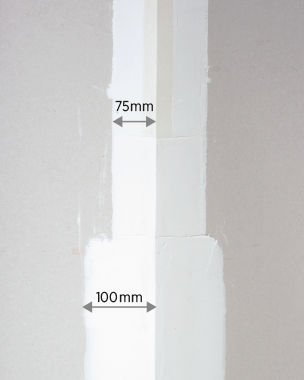
- 1.Apply USG Boral Total Joint Finish to both sides of the internal angle with a 100mm broad knife at approx 75mm wide.
- 2.Fold the joint tape along its centre crease and push it into the compound with the broad knife or a corner tool. Apply a skim coat of compound over the tape.
- 3.When completely dry lightly scrape or sand if required.
- 4.Then apply a finishing coat of Total Joint Finish, ensuring edges are feathered and lightly extended beyond the first coat.
- 5.When thoroughly dry, sand lightly to a smooth finish using 150-grit sand paper - taking care not to scuff the surrounding plasterboard.


MORE INFORMATION
Where your ceiling meets the wall, you have a choice of creating a square-set finish or installing cornice. Find out more about cornices.
EXTERNAL CORNERS
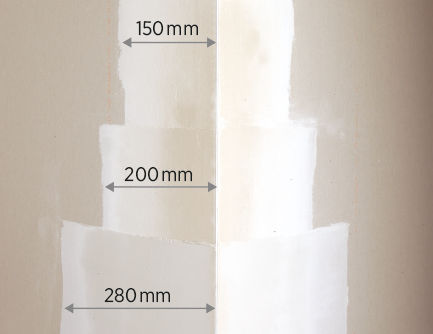
- 1.To finish corners which are covered with an external bead, apply a 150mm coat of Total Joint Finish to both sides using a 150mm broad knife, forcing it into the perforations of the metal.
- 2.When dry, lightly scrape or sand to a smooth surface.
- 3.Apply a second 200mm wide coat of Total Joint Finish with a 200mm broad knife or plasterer's trowel, making sure edges are feathered and smooth.
- 4.Allow to dry fully, then apply a third 280mm wide coat of Total Joint Finish, remembering to feather out the edges.
- 5.When thoroughly dry, sand lightly to a smooth finish using 150-grit sand paper, taking care not to scuff the surrounding plasterboard.


SAFETY FIRST!
- Ensure any ladders, scaffolding, trestles or planks you use are adequate and safe
- Read cautionary notes on all product packaging
- Wear safety gloves when using sharp tools
- Wear a dusk mask and eye protection when sanding
- We recommend you consult with a licensed electrician and/or plumber about any electrical wiring and/or plumbing requirements, prior to installing plasterboard
Keep me up to date
Thank you for registering!
- Who Is USG Boral?
- Careers
- Privacy Policy
- Where to Buy
- Contact Us
- Legal
- Document Finder
- eSelector
- Design Studio
- Boral DesignLAB™
- Systems+


