Necessary cookies
Necessary cookies are required for the operations of the Website. They include, for example, cookies that enable basic functions like page navigation or enable the Viewer/User to log into secure areas of the Website. The Website cannot function properly without these cookies and USG Boral is not required to ask for your consent to place these cookies on your device. These cookies do not store any personally identifiable information.
Performance cookies
Performance cookies allow us to count visits and traffic sources so we can measure and improve the performance of our site. They enable us to understand how the Viewer/User interact with the Website by collecting and reporting information anonymously and to help us improve user experience of the Website. If you do not allow these cookies we will not know when you have visited our site and will not be able to monitor its performance.
Functional cookies
Functionality cookies may be set by us or by third party providers whose services we have added to our pages. They enable the Website to operate in accordance with your preferences, for example, to recognize your username and remember how you customized the site during future visits. If you do not allow these cookies, then some or all of these services may not function properly.
Targeting cookies
Targeting cookies may be set through our site by our advertising partners. They record your visit to our website, the pages you have visited and the links you have followed. We will use this information to make our website and the advertising displayed on it more relevant to your interests. We may also share this information with third parties for this purpose. If you do not allow these cookies, you will experience less targeted advertising.

AUSTRALIA, ENGLISH
Looking for product documents?
Try our Document Finder
About Knauf
About Us
Board Of Directors
Blog
Contact Us
Products
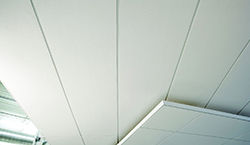
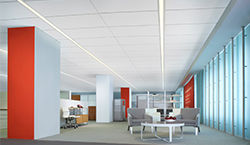
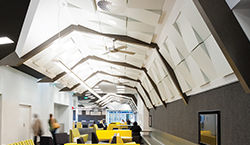
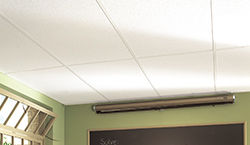
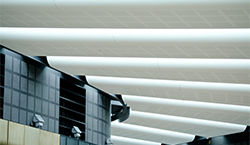
Ceilings
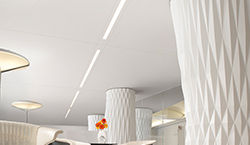
ACOUSTIC PANELS & CEILING TILES
ACOUSTIC SUSPENSION SYSTEM
DRYWALL SUSPENSION SYSTEM
INTEGRATED SYSTEMS
SPECIALTY CEILINGS
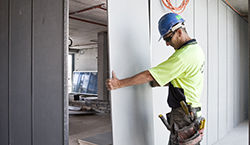
Interior Linings
Standard Plasterboard
SHEETROCK® Plasterboard
TECHNICAL Plasterboard
Multi-Application Boards

Finishes
Jointing Compounds
Specialty Plasters
Adhesives
Primers
Sealants
Joint Tapes
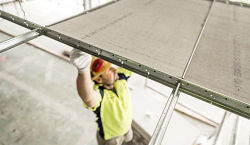
Steel Framing
USG Boral Steel Stud & Track System (New Zealand)
Rondo® Metal Components
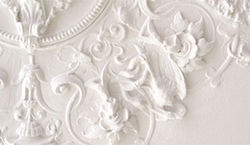
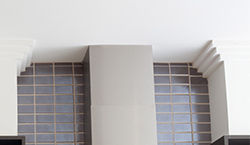
Cornice
SHEETROCK® Cove
Decorative Cornice
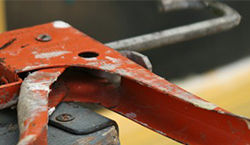
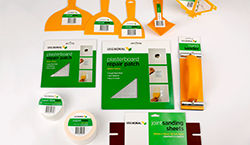
Plastering DIY
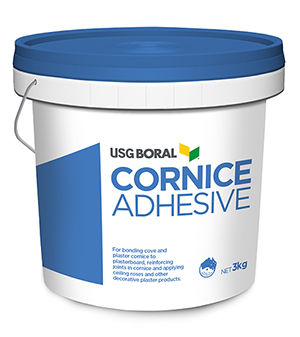
DIY Cornice Adhesive
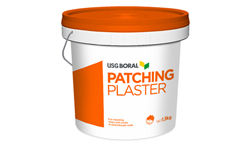
DIY Patching Plaster
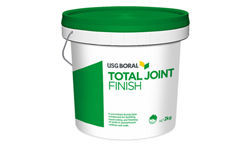
Total Joint Finish
Stud Adhesive
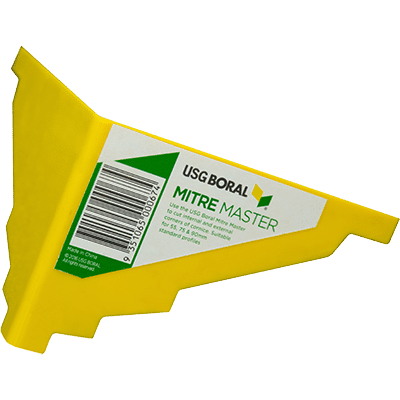
Tools & Accessories
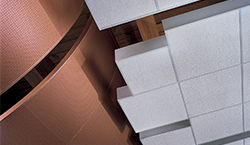
Insulation
Industrial Plaster
Solutions
Plasterboard Systems
Systems+
CinemaZone®
Fireclad® Fire-rated External Wall System
Firewall® System
IntRwall® System
Multiframe™ System
NeighbourZone™ System
OutRwall® System
Partiwall® Separating Wall System
Quiet Living™ System
Segment Solutions
Health Care
Education
Bushfire Protection
Multi-Residential
Science
Acoustics
Fire Performance
Seismic
Inspiration
For Architects / Designers
We believe we can change the way buildings are designed, built and occupied by delivering innovations that help you work smarter, do more and build better.
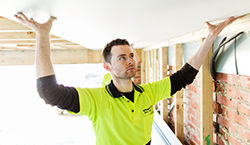
For Builders / Installers
Proudly Supporting those who Build, every step of the way.
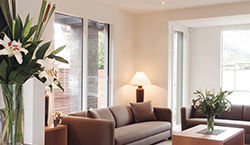
For Homeowners
Our plastering products, tools & accessories are designed for the home renovator/builder making minor alterations or repairs to plasterboard walls & ceilings.
For Resellers / Distributors
Our aim is to provide you solutions and make opportunities to scale your business efficiently.
Resources & Tools
BIMWIZARD
TecASSIST™ - USG Boral
Acoustic Ceilings e-Estimator
What's New
News & Promotions – USG Boral
USG Boral Press Coverage
AUSTRALIA, ENGLISH
User Profile
Looking for product documents?
Try our Document Finder


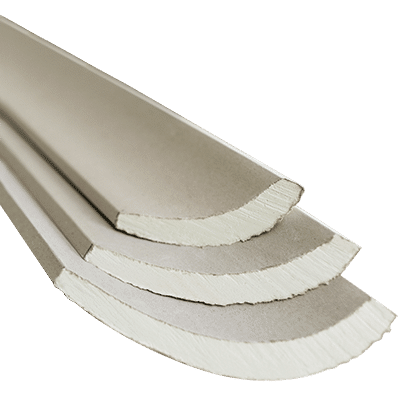
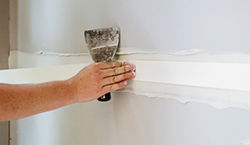
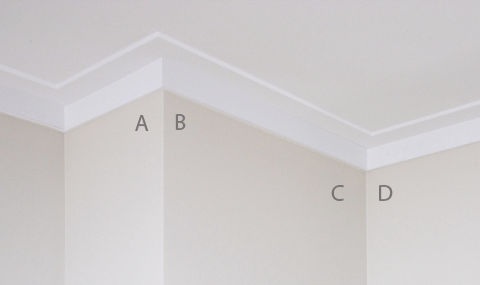
PLEASE NOTE: Ceiling cornices come in many shapes and sizes, complimenting a range of architectural styles. Find out more.

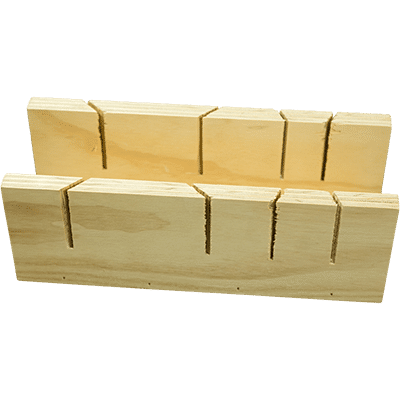
We also recommend using offcuts to practice cutting mitres before actually cutting your cornice.
Download the USG Boral Plasterboard Installation Manual for comprehensive technical information and installation guidelines.
Your cornice is now ready for painting!