Necessary cookies
Necessary cookies are required for the operations of the Website. They include, for example, cookies that enable basic functions like page navigation or enable the Viewer/User to log into secure areas of the Website. The Website cannot function properly without these cookies and USG Boral is not required to ask for your consent to place these cookies on your device. These cookies do not store any personally identifiable information.
Performance cookies
Performance cookies allow us to count visits and traffic sources so we can measure and improve the performance of our site. They enable us to understand how the Viewer/User interact with the Website by collecting and reporting information anonymously and to help us improve user experience of the Website. If you do not allow these cookies we will not know when you have visited our site and will not be able to monitor its performance.
Functional cookies
Functionality cookies may be set by us or by third party providers whose services we have added to our pages. They enable the Website to operate in accordance with your preferences, for example, to recognize your username and remember how you customized the site during future visits. If you do not allow these cookies, then some or all of these services may not function properly.
Targeting cookies
Targeting cookies may be set through our site by our advertising partners. They record your visit to our website, the pages you have visited and the links you have followed. We will use this information to make our website and the advertising displayed on it more relevant to your interests. We may also share this information with third parties for this purpose. If you do not allow these cookies, you will experience less targeted advertising.

AUSTRALIA, ENGLISH
Looking for product documents?
Try our Document Finder
About Knauf
About Us
Board Of Directors
Blog
Contact Us
Products
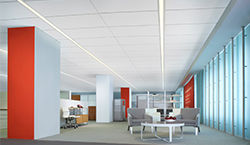
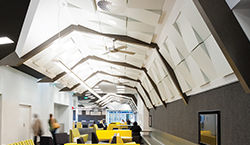
Ceilings
ACOUSTIC PANELS & CEILING TILES
ACOUSTIC SUSPENSION SYSTEM
DRYWALL SUSPENSION SYSTEM
INTEGRATED SYSTEMS
SPECIALTY CEILINGS
Interior Linings
Standard Plasterboard
SHEETROCK® Plasterboard
TECHNICAL Plasterboard
Multi-Application Boards

Finishes
Jointing Compounds
Specialty Plasters
Adhesives
Primers
Sealants
Joint Tapes
Steel Framing
USG Boral Steel Stud & Track System (New Zealand)
Rondo® Metal Components
Cornice
SHEETROCK® Cove
Decorative Cornice
Plastering DIY
DIY Cornice Adhesive
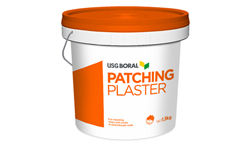
DIY Patching Plaster
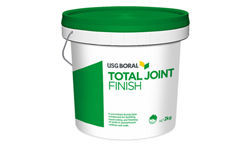
Total Joint Finish
Stud Adhesive
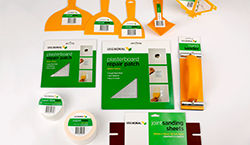
Tools & Accessories
Insulation
Industrial Plaster
Solutions
Plasterboard Systems
Systems+
CinemaZone®
Fireclad® Fire-rated External Wall System
Firewall® System
IntRwall® System
Multiframe™ System
NeighbourZone™ System
OutRwall® System
Partiwall® Separating Wall System
Quiet Living™ System
Segment Solutions
Health Care
Education
Bushfire Protection
Multi-Residential
Science
Acoustics
Fire Performance
Seismic
Inspiration
For Architects / Designers
We believe we can change the way buildings are designed, built and occupied by delivering innovations that help you work smarter, do more and build better.
For Builders / Installers
Proudly Supporting those who Build, every step of the way.
For Homeowners
Our plastering products, tools & accessories are designed for the home renovator/builder making minor alterations or repairs to plasterboard walls & ceilings.
For Resellers / Distributors
Our aim is to provide you solutions and make opportunities to scale your business efficiently.
Resources & Tools
BIMWIZARD
TecASSIST™ - USG Boral
Acoustic Ceilings e-Estimator
What's New
News & Promotions – USG Boral
USG Boral Press Coverage
AUSTRALIA, ENGLISH
User Profile
Looking for product documents?
Try our Document Finder

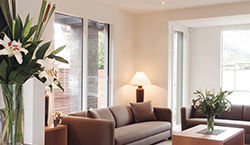
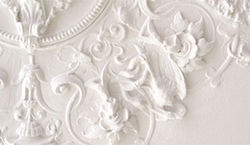
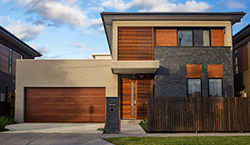
Anyone who’s decorated a room will remember that little patch of poorly sanded window frame – or just the brush-hair embedded in the paint for all eternity. No one else would ever notice such a minute flaw but, to the decorator themselves, it can feel like a massive splotch!
We all want everything to be as near to perfect as possible, which makes it very disappointing when a major feature such as a wall or ceiling has an imperfect appearance.
The fact is, achieving a flat, blemish-free surface on a plasterboard wall or ceiling is impossible – and the best you can expect is the appearance of flatness. The chances are, if you’re unhappy with the appearance of properly installed plasterboard, the cause could be unfavourable lighting or decoration.
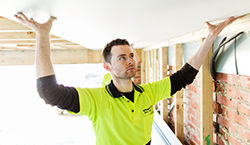
FIRST, GET THE BASICS RIGHT
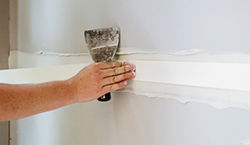
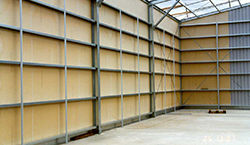
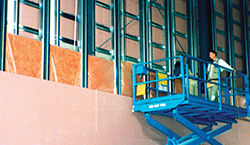
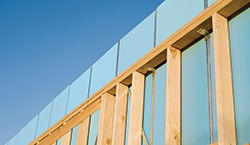
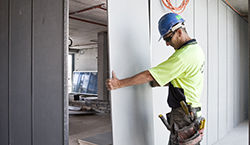
Of course, there are some requirements of the plasterboard installation process itself to minimise flaws and unevenness. Accurate installation of wall and ceiling framing and roof trusses is essential. Using ceiling battens is also important to achieve a level finish. This means that if you’re renovating an older home where movement has taken place over time, you cannot expect the precision of a newly-built home.
The way you joint and finish wall and ceiling boards is also critical to their appearance – years down the track as well as immediately after painting. To help with all aspects of working with plasterboard– preparation, installation, finishing and repairing – we’ve developed a series of how-to videos and infosheets.
Finally, if you’re planning to use a glossy or sheen paint, you’d be advised to consult a professional plasterer or specialist trade store. These paints can highlight minor flaws, so it’s best to use non-standard finishing compounds and methods (Level 5 finish).
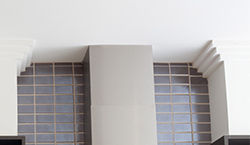
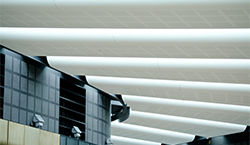
THREE LIGHTING CHALLENGES
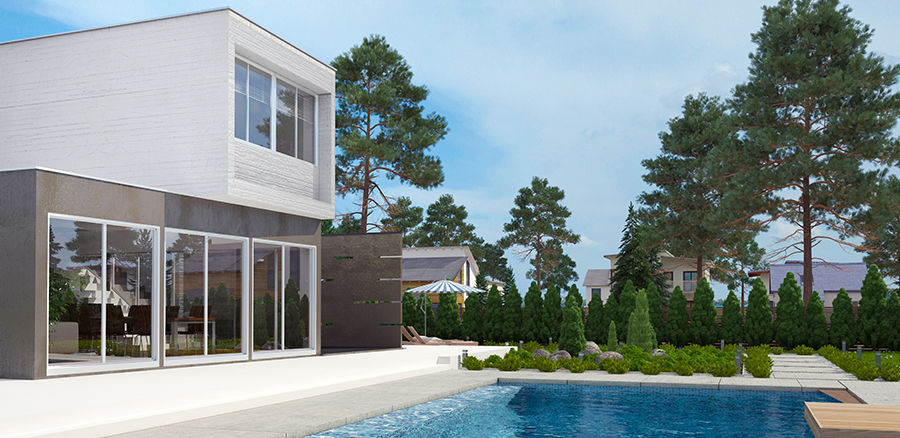
The orientation of your home and factors outside it can impact on the appearance of internal walls and ceilings. The angle of the sun at different times of the day and year, reflected light from other buildings, glare from reflective surfaces such as pools and water features – all should be taken into consideration when decorating your room and may dictate the need for sunshades, blinds or curtains.
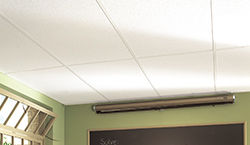
A second kind of light which can seem to magnify surface irregularities and spoil the look of even the highest quality finish is glancing light. Because it comes from an angle, it casts minute shadows which emphasise minor flaws that would otherwise appear flat. Glancing light can be caused by inappropriate light fittings or angles, such as ill-adjusted spots, as well as single light sources fixed to a ceiling or wall. Glancing light can also reflect upwards from external pool water or reflective surfaces outside to deliver a similar effect.
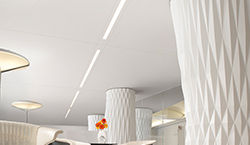
A third challenge is the type and style of light fittings. Bare bulbs cast harsh light, highlighting surface variations. On the other hand, recessed lighting and opaque shades avoid shadows and glancing light – illuminating the room rather than the ceiling. You should think carefully about your choice and placement of lighting fixtures.
NOW THERE’S HELP
In order to illustrate the different lighting challenges above, and discuss other causes of dissatisfaction with the appearance of plasterboard walls and ceilings and ways to mitigate them, we’ve published a guidebook. Now updated and reissued, the Lighting & Decorating Plasterboard Design & Application Guide offers valuable advice on what you need to consider before you start a renovation project that involves the installation of new plasterboard walls or ceilings.
If you’d like a copy of the Lighting & Decorating Plasterboard Design & Application Guide, click here or visit your local
USG Boral trade store. Click to find a store near you.